Blog
How to Skin a Deer with a Skinning Knife

To skin a deer, hang the field-dressed animal by its hind legs, cut around each leg just above the joint, connect those cuts down the inside of each leg, and then pull the hide downward, using your knife only to free the membrane where it clings. Done with a sharp skinning knife while the animal is still warm, the whole job takes 10 to 20 minutes. The detail most people get wrong is that skinning is mostly pulling. The knife is there to assist, not to lead. This guide covers the setup, each cut in order, the spots that trip up first-timers at the tail, brisket and neck, and how to keep hair off the meat and the hide usable.
What You Need
| Item | Why It Matters |
|---|---|
| Skinning knife with a deep-bellied 3 to 4" blade | The curved belly sweeps hide off carcass without poking holes |
| Gambrel and hoist (or stout crossbeam and rope) | Hanging the deer turns skinning into a controlled downward pull |
| Nitrile or cut-resistant gloves | Grip on a slick hide and basic hygiene |
| Clean water and a rag | Wipe hands and knife; keep hair off meat |
| Game bags | Protect the skinned carcass from dirt and flies |
| Cooler with ice (warm weather) | Meat care after the hide is off |
Safety note: you will be making pulling cuts near your own hands on slippery tissue. Keep the edge angled away from you and away from the hand tensioning the hide, work unrushed, and never cut toward the leg holding the gambrel. A sharp knife is safer than a dull one here. Dull blades demand force, and force is what slips, so put an edge on it the night before.
How to Skin a Deer, Step by Step
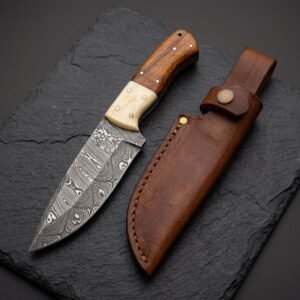
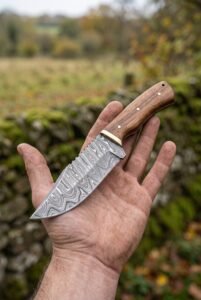 Woodgrain Hand Forged Damascus Skinner Knife with Wood Handle & Leather Sheath | Hunting Skinning and Camping Gift | RK-454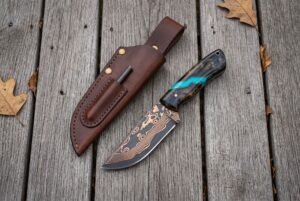
Step 1: Hang the Deer by the Hind Legs
After field dressing, insert the gambrel through the gap between the tendon and bone on each hind leg and hoist the deer until the head hangs clear of the ground. Hind-leg hanging lets gravity help you pull the hide down the body, keeps the cleanest cuts of meat highest, and puts the starting cuts at working height. Skin as soon as practical. The hide releases far more easily from a warm carcass than a cold one, and every hour you wait gets charged back to you in effort.
Step 2: Cut Around Each Hind Leg
With the tip of your knife, ring the hide around each hind leg a few inches above the knee joint, cutting just through the skin, not into the tendon holding the gambrel. Angle the blade slightly under the hide rather than straight in, the goal is to free the skin, not score the meat.
Step 3: Open the Inside of Each Leg
From each ring cut, slice down the inside of the leg to meet your field dressing opening at the pelvis, the one a gut hook makes in seconds. Cut from under the hide outward, slide the blade between hide and muscle, edge facing out, and let the belly of the knife do the work. Cutting outward keeps hair off the meat and prevents nicking the hams.
Step 4: Free the Hide at the Legs and Tail
Peel the hide away from each leg with your fingers and short knife strokes on the clinging membrane. Work both legs down to the tail. The tail can be cut through at its base close to the body; if you plan to keep the hide for tanning, skin the tail out instead of cutting it.
Step 5: Pull the Hide Down the Back and Sides
Now the pulling begins. Grip the freed hide with both hands and pull down firmly toward the head, leaning your body weight into it. A warm hide peels off the back and sides in long sheets, which is the one genuinely satisfying part of the job. Push a fist between hide and carcass where it sticks, and reserve the knife for the thin white membrane at stubborn spots, every unnecessary knife stroke risks a hole in the hide or hair on the meat.
Step 6: Handle the Brisket and Front Legs
At the shoulders, ring each front leg above the knee and open the inside of each leg to the brisket line, just as you did behind. Pull the hide over each shoulder like removing a tight jacket sleeve, helping with the knife along the brisket where the skin binds tightly to cartilage.
Step 7: Skin the Neck and Finish
Keep pulling down the neck as far as you intend to keep meat or cape. For a shoulder-mount cape, stop well behind the shoulders and let your taxidermist make the final cuts, capes are easy to ruin and impossible to un-cut. Otherwise, pull to the base of the skull and sever the hide free.
Step 8: Cool the Carcass and Deal with the Hide
Wipe away stray hair with a damp rag, bag the carcass against flies, and get the meat cooling promptly, hang it in air below refrigeration temperatures or quarter it into coolers in warm weather. Salt a hide you intend to keep, or dispose of it according to local regulations. Check your state’s rules on carcass transport and disposal, which vary.
Mistakes That Cost Meat and Hides
Using the knife for everything. The hide of a warm deer pulls free. Skinners who slice at everything leave score marks in the meat and holes in the hide, then blame the knife. Pull first, cut second.
Waiting too long. A cold, stiff carcass roughly doubles the work. Skin warm whenever conditions allow, then focus on cooling the meat fast.
Cutting through the hide from the outside. Outside-in cuts drive hair onto the meat. Slide the blade under the hide and cut outward.
Nicking the tendon at the hock. Cut the ring above the joint carefully or the deer ends up on the ground mid-job.
Rushing the cape. If a mount is even a possibility, leave generous hide and stop early. Taxidermists can trim excess; they cannot add back what you cut away.
The Right Knife for the Job
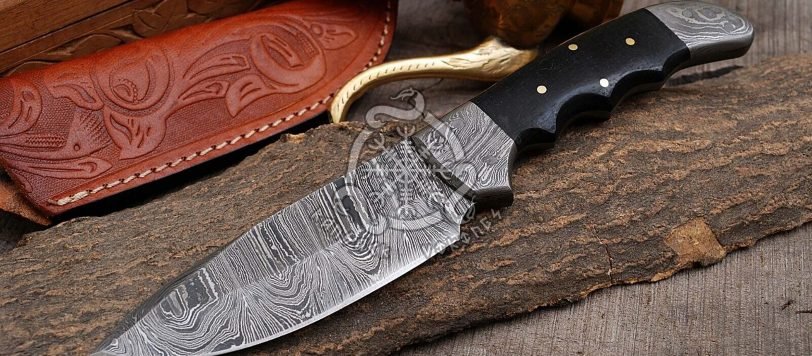
A dedicated skinner is short, deep-bellied and round-tipped, and it exists for one reason: it sweeps between hide and muscle without puncturing either. That is geometry rather than marketing. Our Damascus skinner knives are built for exactly this work, and a tracker-style knife or general-purpose hunting knife will handle skinning plus the rest of the field chores. Damascus of 1095 and 15N20 at 58 to 60 HRC holds its edge through a whole animal without touch ups, and the numbers behind that sit on the steel and hardness page and in our steel glossary. Every knife ships sharp from Chicago, IL.
Deer Skinning FAQ
How soon after the kill should you skin a deer?
As soon as practical after field dressing, while the carcass is still warm, the hide separates from warm muscle with far less knife work. The exception is cold weather below refrigeration temperatures, when many hunters hang the deer hide-on for a few days, since the hide protects the meat from drying while the carcass chills.
Should a deer hang head up or head down for skinning?
Hind legs up (head down) is the most common and beginner-friendly method: gravity helps you pull the hide toward the head, and the prime cuts stay high and clean. Some hunters skin head-up from a hitch or pole barn, which suits caping for a mount. Either works. A solid hanging setup matters considerably more than which end is up.
What knife is best for skinning a deer?
A 3 to 4 inch fixed blade with a pronounced curved belly and a rounded or drop tip, the classic skinner profile. The belly maximizes edge contact in sweeping strokes, and the modest tip reduces accidental punctures of hide or paunch. Bigger is not better here. A long blade is clumsy between hide and muscle, whatever it looks like hanging on a belt.
How do you keep hair off the meat while skinning?
Cut from under the hide outward instead of through the hide inward, pull the hide back and away as you work so hair falls outboard, wipe your knife and hands regularly, and finish by picking or wiping stray hairs off with a damp cloth before bagging. Most hair contamination comes from outside-in cuts and a dirty blade.
Can you skin a deer on the ground without hanging it?
Yes, many hunters skin on the ground or a tailgate where no hoist exists, working one side at a time with the deer on its back and using the same ring-open-pull sequence. It is slower and it is harder to keep the meat clean, so lay the hide out as a working mat under the carcass and accept that you will be picking hair off afterwards.
Do you have to skin a deer to age the meat?
No. In reliably cold conditions, hanging the deer hide-on protects the meat from drying and contamination while it ages. In warm conditions, skin promptly and move the meat to controlled cold, a walk-in cooler or iced coolers, because aging only benefits meat kept consistently just above freezing.
Which knife to take into the field is settled in our pick of skinning knives for deer, and whether you need one blade or two is argued in the hunting and skinning knife comparison. Once the day is done, the knife care guide covers washing, drying and oiling before the blade goes back in its sheath.
On the shelf
The catalogue carries the Littlewalnut skinner knife and the Bonewarden skinner knife. So do the Scorpio skinner knife and the Ravenhook gut hook skinning knife.
Shop the range
Woodgrain Hand Forged Damascus Skinner Knife with Wood Handle & Leather Sheath | Hunting Skinning and Camping Gift | RK-454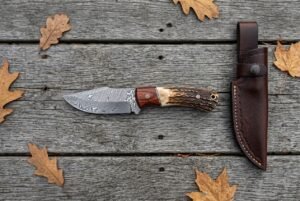 Stagrose Hand Forged Damascus Skinner Knife with Rosewood and Stag Handle & Hand Stitched Leather Sheath | Hunting Skinning Gift | RK-1102